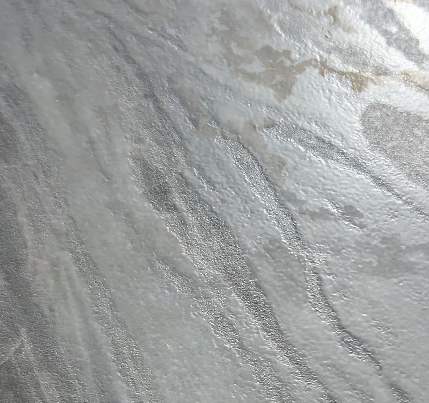
When you look closely at a premium sintered stone surface, you may notice that the texture is not completely flat. Certain veins are slightly raised, while other areas have a softer or more natural touch.
This three-dimensional effect can be created using a process known as a glue dry granule finish.
Although the name sounds technical, the basic principle is easy to understand: digital glue is applied to selected areas of the slab, fine dry granules are spread across the surface, and the excess granules are removed. After firing, the remaining granules form a textured surface that follows the printed design.
Let’s take a closer look at how this finish is produced.
What Are Dry Granules?
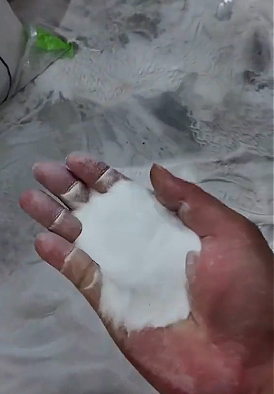
Dry granules are extremely fine mineral particles used during the surface decoration of ceramic tiles and sintered stone.
Before firing, they look similar to very fine grains of salt. However, after being applied and fired at high temperatures, they become part of the finished surface.
Different dry granule formulations and application quantities can be used to create different visual and tactile effects. Depending on the product design, the finished surface may feel:
- Soft and slightly textured
- Naturally uneven
- Fine and sandy
- More three-dimensional
- Similar to the texture of natural stone
The purpose is not simply to make the entire slab rough. The granules can be precisely positioned so that the surface texture works together with the printed veins.
Step 1: Preparing the Sintered Stone Body
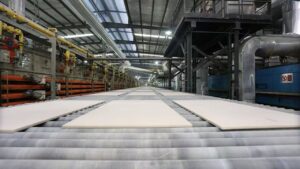
Before the surface decoration stage, the production process is generally similar to that of regular sintered stone.
The raw materials are prepared, pressed into a large-format body and dried before entering the decoration line. At this stage, the slab still has a relatively plain surface without its final color or pattern.
The design begins to appear when the slab passes through the digital inkjet printer.
Step 2: Digital Inkjet Printing
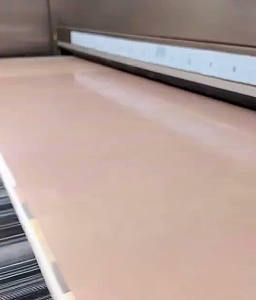
The inkjet printer applies the main visual design to the slab.
This may include marble veins, stone formations, color variations or other decorative details. Digital printing makes it possible to reproduce more complex patterns and create multiple faces within the same collection.
However, printing alone mainly creates a visual effect. To make the surface texture follow the pattern, another piece of equipment is required.
Step 3: Digital Glue Printing
After the main pattern has been printed, the slab passes through a digital glue printer.
Instead of applying glue across the entire surface, this machine deposits it only in selected areas according to a predefined digital file. The glue can therefore follow specific veins, details or areas of the printed design.
Its main purpose at this stage is precise positioning.
For example, if the design contains a prominent stone vein, glue can be printed along that vein. This allows the final texture to align more naturally with the graphic instead of appearing as a random texture across the slab.
This synchronization between the design and the surface structure is one of the main advantages of the glue dry granule process.
Step 4: Applying the Dry Granules
The slab then enters the dry granule application machine.
A fine and even layer of dry granules is spread across the surface. At first, the granules cover both the glued and unglued areas.
Because the particles are so fine, the machine must control their distribution carefully. Uneven application could affect the final appearance and consistency of the surface.
At this point, the slab is covered with more granules than the finished product actually requires.
Step 5: Removing the Excess Granules
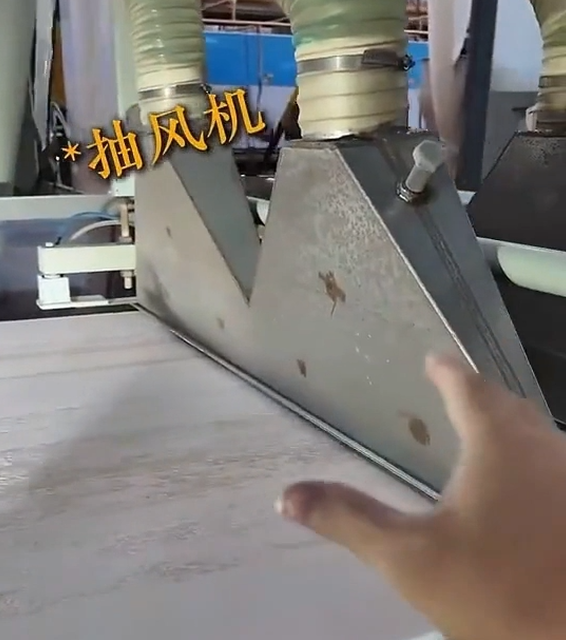
An extraction or vacuum system removes the loose granules from the surface.
The granules in areas without glue can be extracted, while those that touch the digitally applied glue remain in position.
This creates a selective decorative layer:
- Glued areas retain the dry granules
- Unglued areas remain relatively clean
- The granule pattern follows the digital surface design
This is how manufacturers can create controlled texture and depth instead of applying the same effect uniformly across the whole slab.
Step 6: High-Temperature Firing
After decoration, the slab enters the kiln for firing.
The glue functions as a temporary positioning material during the decoration process. It should not be understood as a conventional layer of glue remaining on the finished slab.
During firing, the mineral granules become fixed and integrated into the ceramic surface. This produces the final visual and tactile effect.
The result is a durable, three-dimensional finish rather than a temporary surface coating.
Why Use a Glue Dry Granule Finish?
The greatest advantage of this process is the connection between the printed pattern and the physical texture.
On a basic digitally printed surface, the veins can be seen but may not be felt. With digitally positioned dry granules, selected details can become more pronounced when viewed or touched.
This can provide several design benefits:
More Natural Depth
Raised and recessed details make the surface appear less flat, especially under side lighting.
Better Alignment Between Texture and Veins
Because the glue is digitally positioned, the surface effect can follow the printed pattern more precisely.
A More Realistic Stone Appearance
The combination of visual variation and tactile texture helps reproduce some of the depth associated with natural stone.
More Surface Design Possibilities
Manufacturers can adjust the glue pattern, granule type and application amount to develop different finishes for different collections.
Where Can This Finish Be Used?
Glue dry granule sintered stone can be considered for a variety of interior applications, including:
- Feature walls
- Interior wall cladding
- Residential flooring
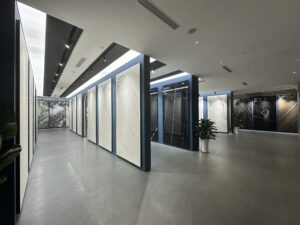
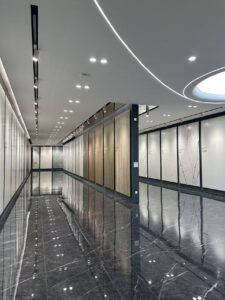
- Commercial spaces
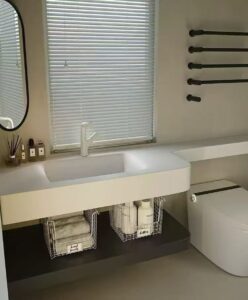
- Furniture surfaces
- Selected countertop applications
However, buyers should not judge performance by the appearance of the finish alone.
For flooring or other technical applications, relevant test results—such as slip resistance, stain resistance and abrasion resistance—should be checked according to the project requirements. A visibly textured surface does not automatically guarantee a particular anti-slip rating.
Is Every Dry Granule Surface the Same?
No. Two products described as having a dry granule finish may still look and feel very different.
The final result can be affected by:
- Granule composition and particle size
- Amount of granules applied
- Digital glue pattern
- Alignment between texture and printed veins
- Firing conditions
- Surface design and color
- Production-line control
For project selection, it is advisable to inspect a physical sample under both direct and side lighting. Side lighting makes it easier to evaluate the depth, texture and alignment of the surface.
Final Thoughts
The principle of the glue dry granule process is relatively simple, but achieving a refined and consistent result requires precise digital positioning and stable production control.
First, the slab receives its printed design. A digital glue printer then applies glue to selected areas. Fine dry granules are spread across the surface, and an extraction system removes the excess material. After high-temperature firing, the retained granules create a textured surface that follows the design.
The result is a sintered stone finish with greater depth, a more tactile surface and a natural stone-like appearance.
At BJS Sintered Stone, we offer a wide selection of surface designs and finishes for distributors, fabricators and project buyers. Contact us to request samples, surface videos or specifications for your next project.